
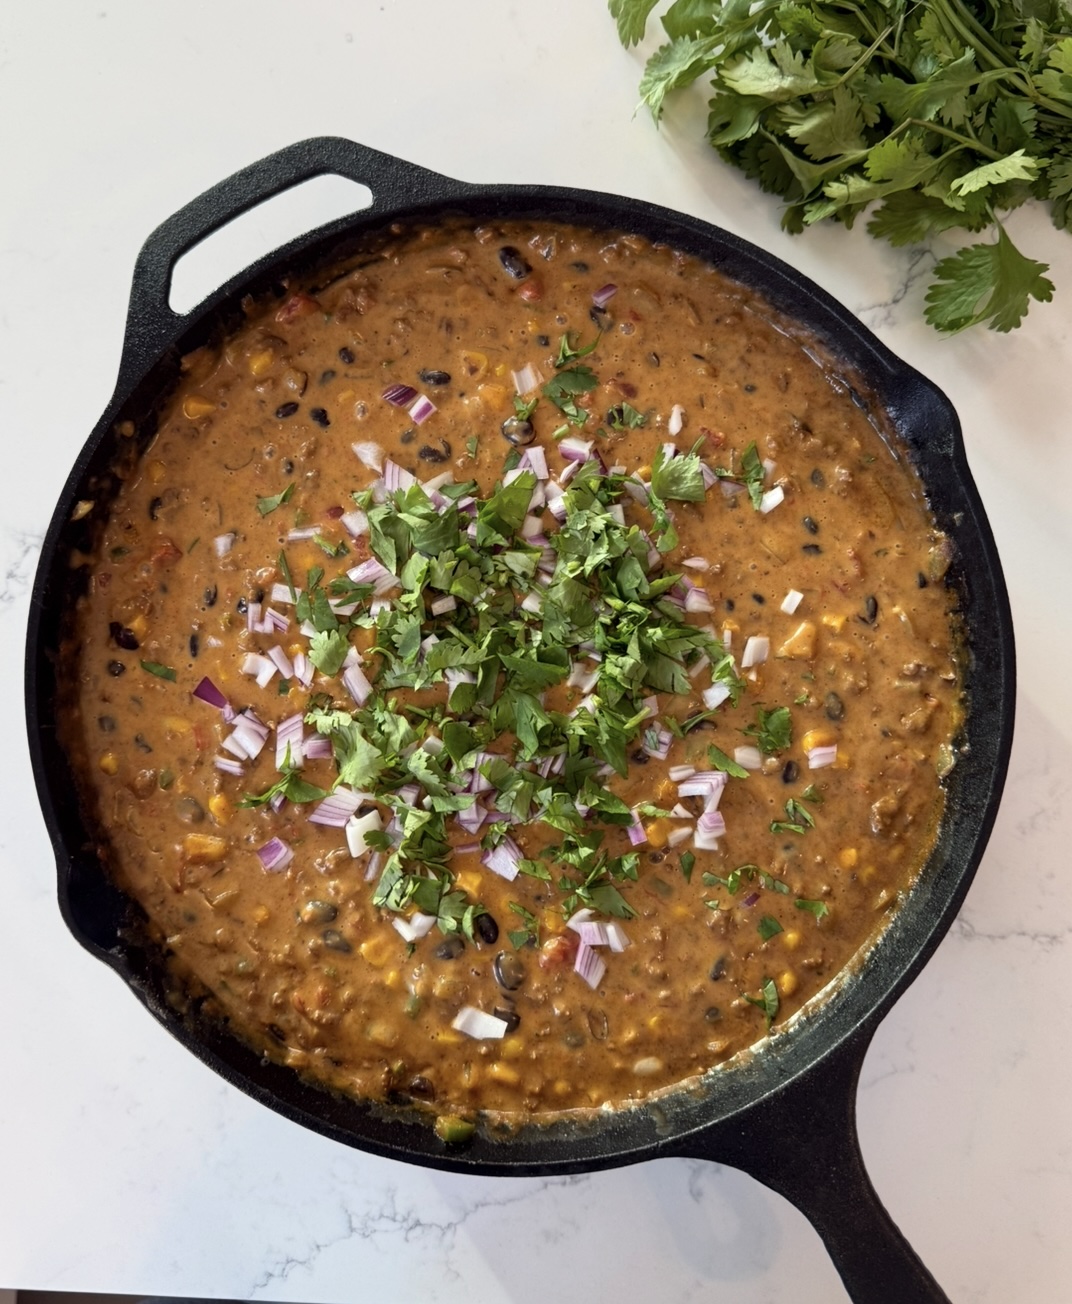
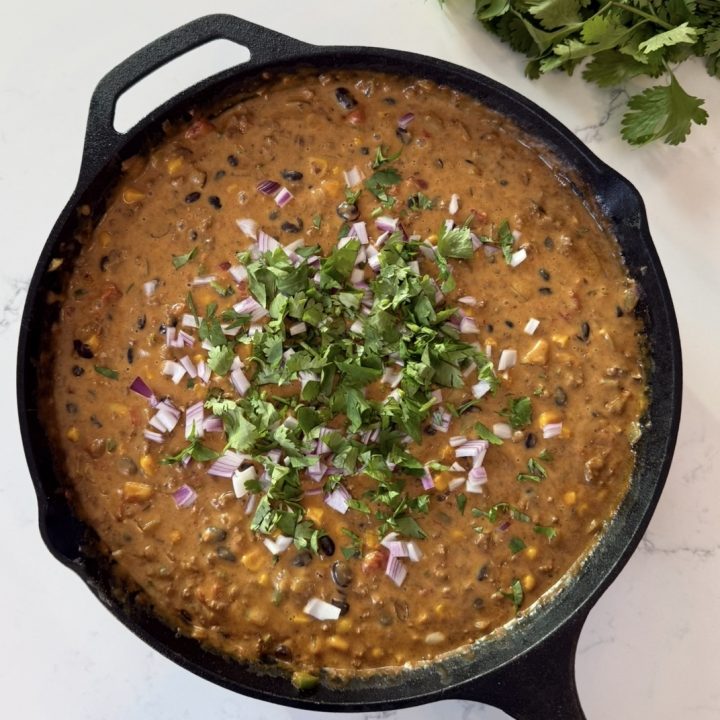
If there’s one dip that disappears faster than anything else on the table, it’s this Cowboy Queso. It’s rich, melty, loaded with seasoned beef, beans, corn, and just enough heat to keep everyone coming back for “one more chip.”
This is the kind of recipe that feels casual but impressive . It’s the one you make for game day, backyard get-togethers, or when you want a guaranteed crowd-pleaser without spending hours in the kitchen. Bonus: it all comes together in one skillet.
Why You’ll Love This Cowboy Queso
- Hearty & filling thanks to ground beef and beans
- Ultra creamy with perfectly melted cheese
- Customizable heat depending on your crowd
- One-pan recipe that’s easy to cook and serve
- Perfect for game day, parties, or casual entertaining
Tips for the Best Queso
- Keep the heat low once the cheese goes in to prevent graininess
- Add milk gradually — you can always thin it out, but you can’t thicken it easily
- Taste before serving and adjust salt or spice if needed
- For extra richness, stir in a spoonful of sour cream after removing from heat
Cowboy Queso Variations
- Spicy: use hot Rotel or leave jalapeño seeds in
- Smoky: add smoked paprika or chipotle powder
- Meat swap: try chorizo or spicy breakfast sausage
- Veg-forward: add sautéed bell peppers or skip the meat entirely
Cowboy Queso (The Ultimate Game Day Dip)
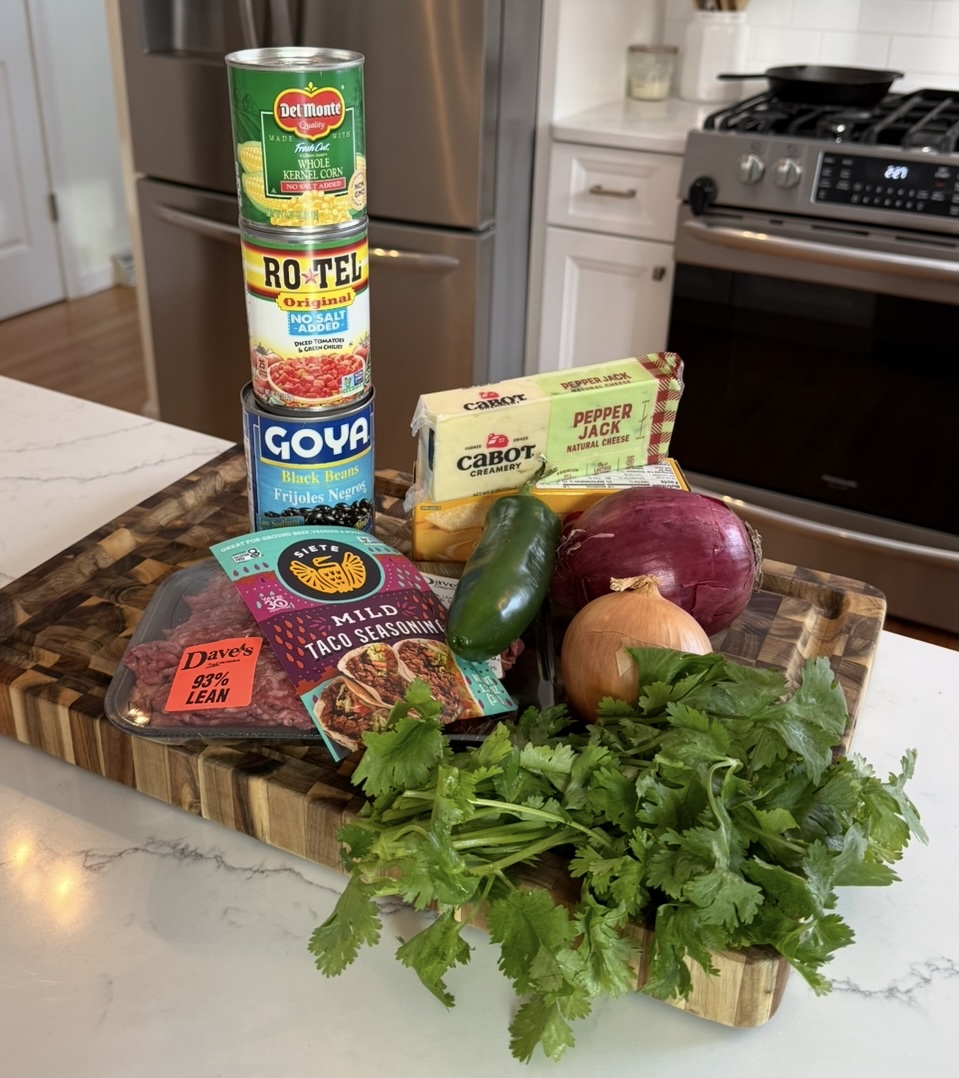
Ingredients
- 1 lb ground beef (or breakfast sausage)
- 1 packet taco seasoning (store-bought or homemade)
- 1 (10 oz) can Rotel (diced tomatoes + green chiles), undrained
- 1 cup corn kernels (frozen, fresh, or canned + drained)
- 1 (15 oz) can black beans, drained and rinsed
- 1 small white onion, finely diced
- 1 jalapeño, seeds removed and diced (optional for heat)
- 16 oz Velveeta, cubed
- 8 oz pepper jack cheese, shredded
- ½ cup milk (optional to adjust consistency)
- Fresh cilantro, chopped (optional)
- Tortilla chips, for serving
Instructions
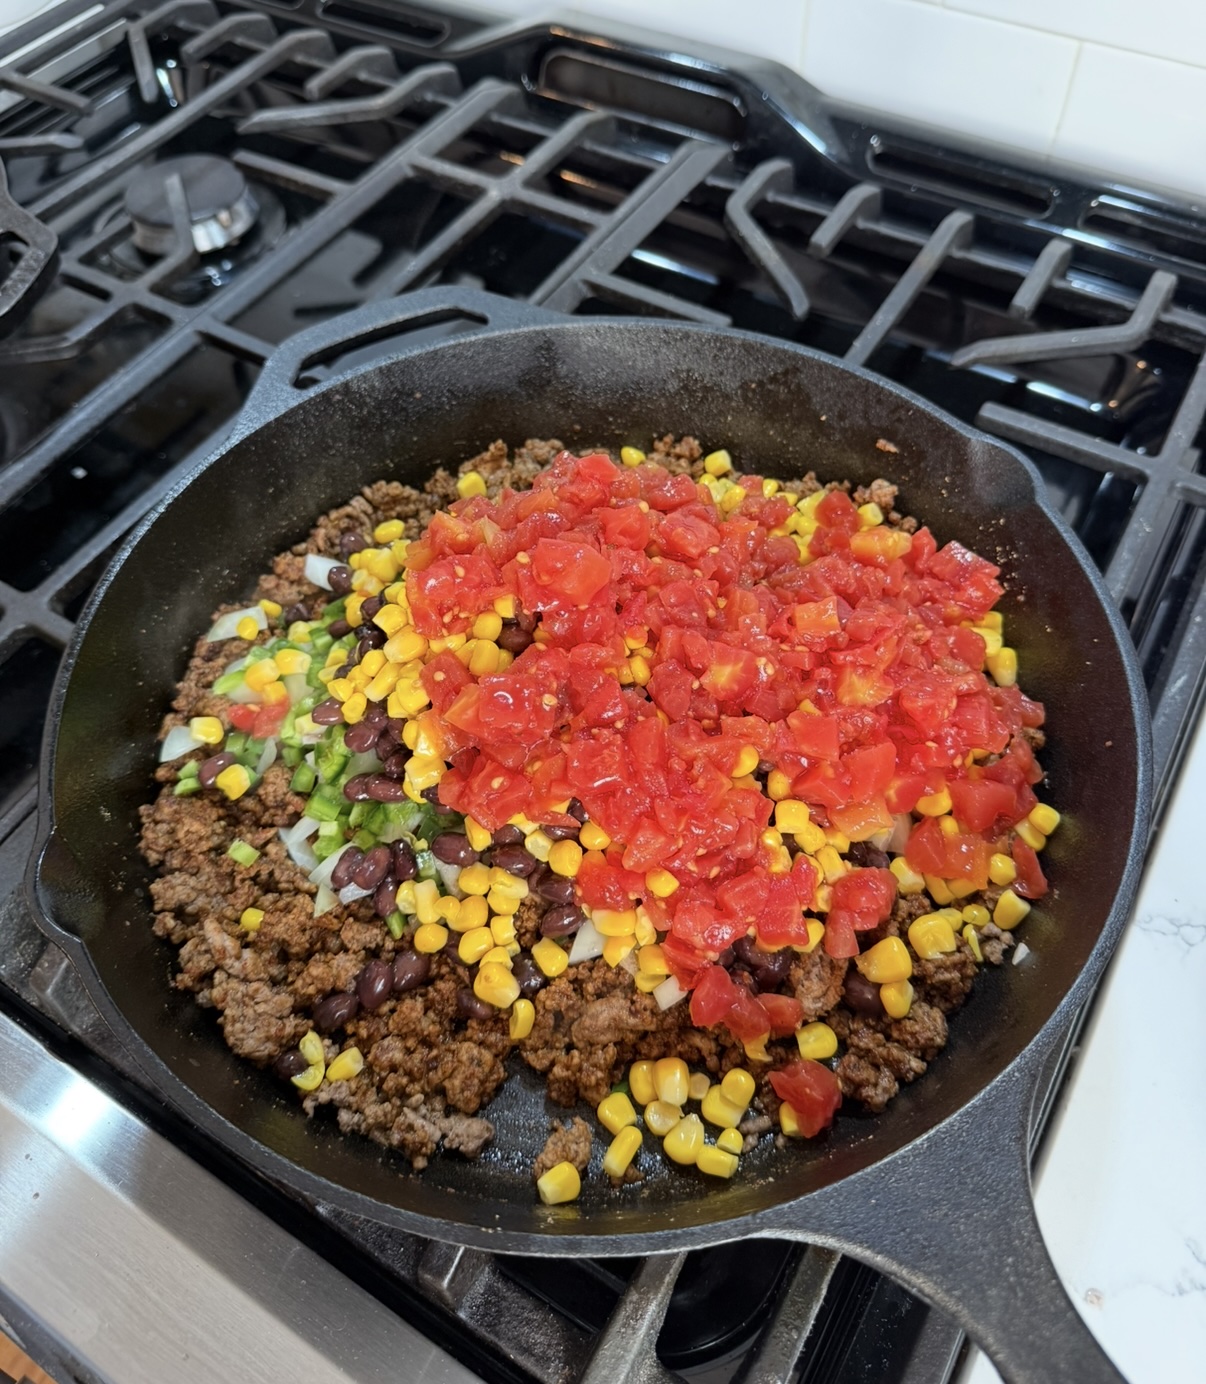
- Start by browning the ground beef in a large cast-iron skillet over medium heat. Once fully cooked, drain off any excess grease and stir in the taco seasoning.
- Add the diced onion, jalapeño, corn, black beans, and Rotel directly to the skillet. Stir everything together and let it cook for a few minutes until the onions soften and everything is warmed through.
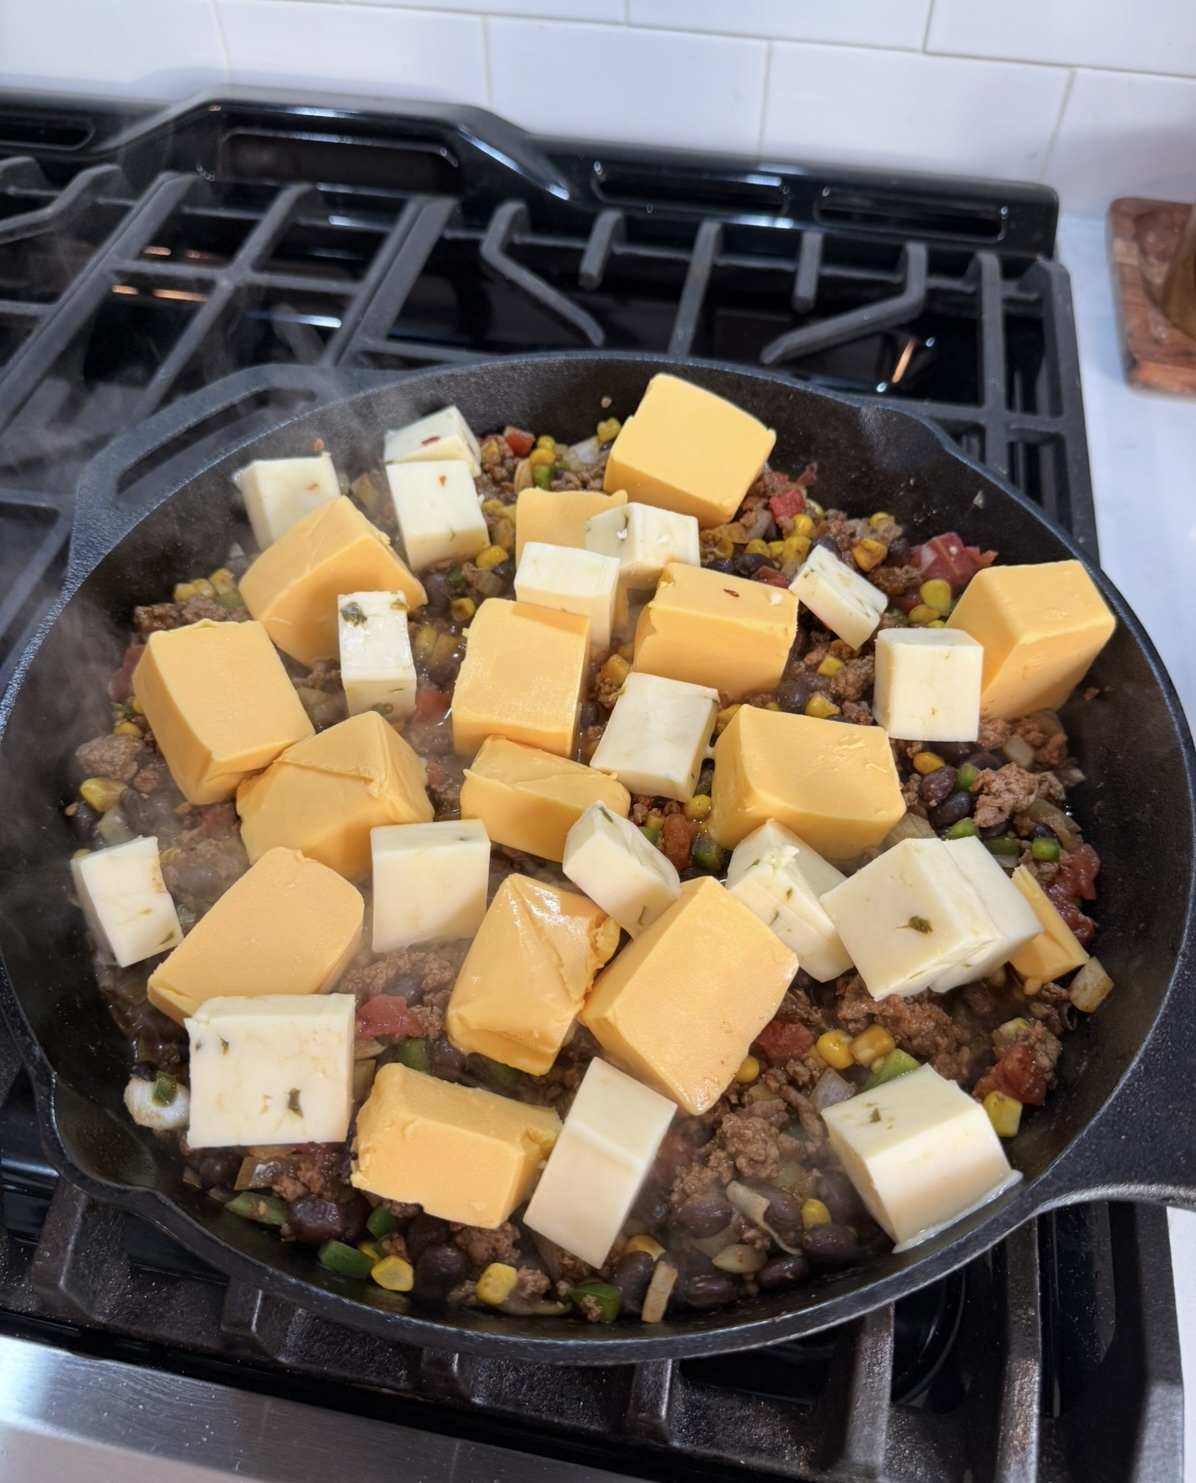
- Lower the heat and add the cubed Velveeta along with the shredded pepper jack. Stir slowly until the cheese is fully melted and smooth. Add milk a little at a time until you reach your desired consistency.
- Remove from heat and stir in fresh chopped cilantro if using. Serve immediately with tortilla chips or transfer to a slow cooker on warm for parties. Enjoy!
Notes
A 12-inch cast-iron skillet is ideal for this recipe. It’s large enough to brown the meat comfortably and hold all the mix-ins and cheese without overflowing, while still being perfect for serving straight from the pan.