
Homemade breadcrumbs are one of those little factors that make a huge difference especially when you’re making cutlets, meatballs, or anything you want extra crispy. They’re fresher, more flavorful, and you feel better about it than grabbing a can from the pantry.
There are two ways to make homemade breadcrumbs, and both work beautifully. The key is understanding when to toast the bread and why it matters before you start breading!
Why Toasting the Bread is Important for Breadcrumbs
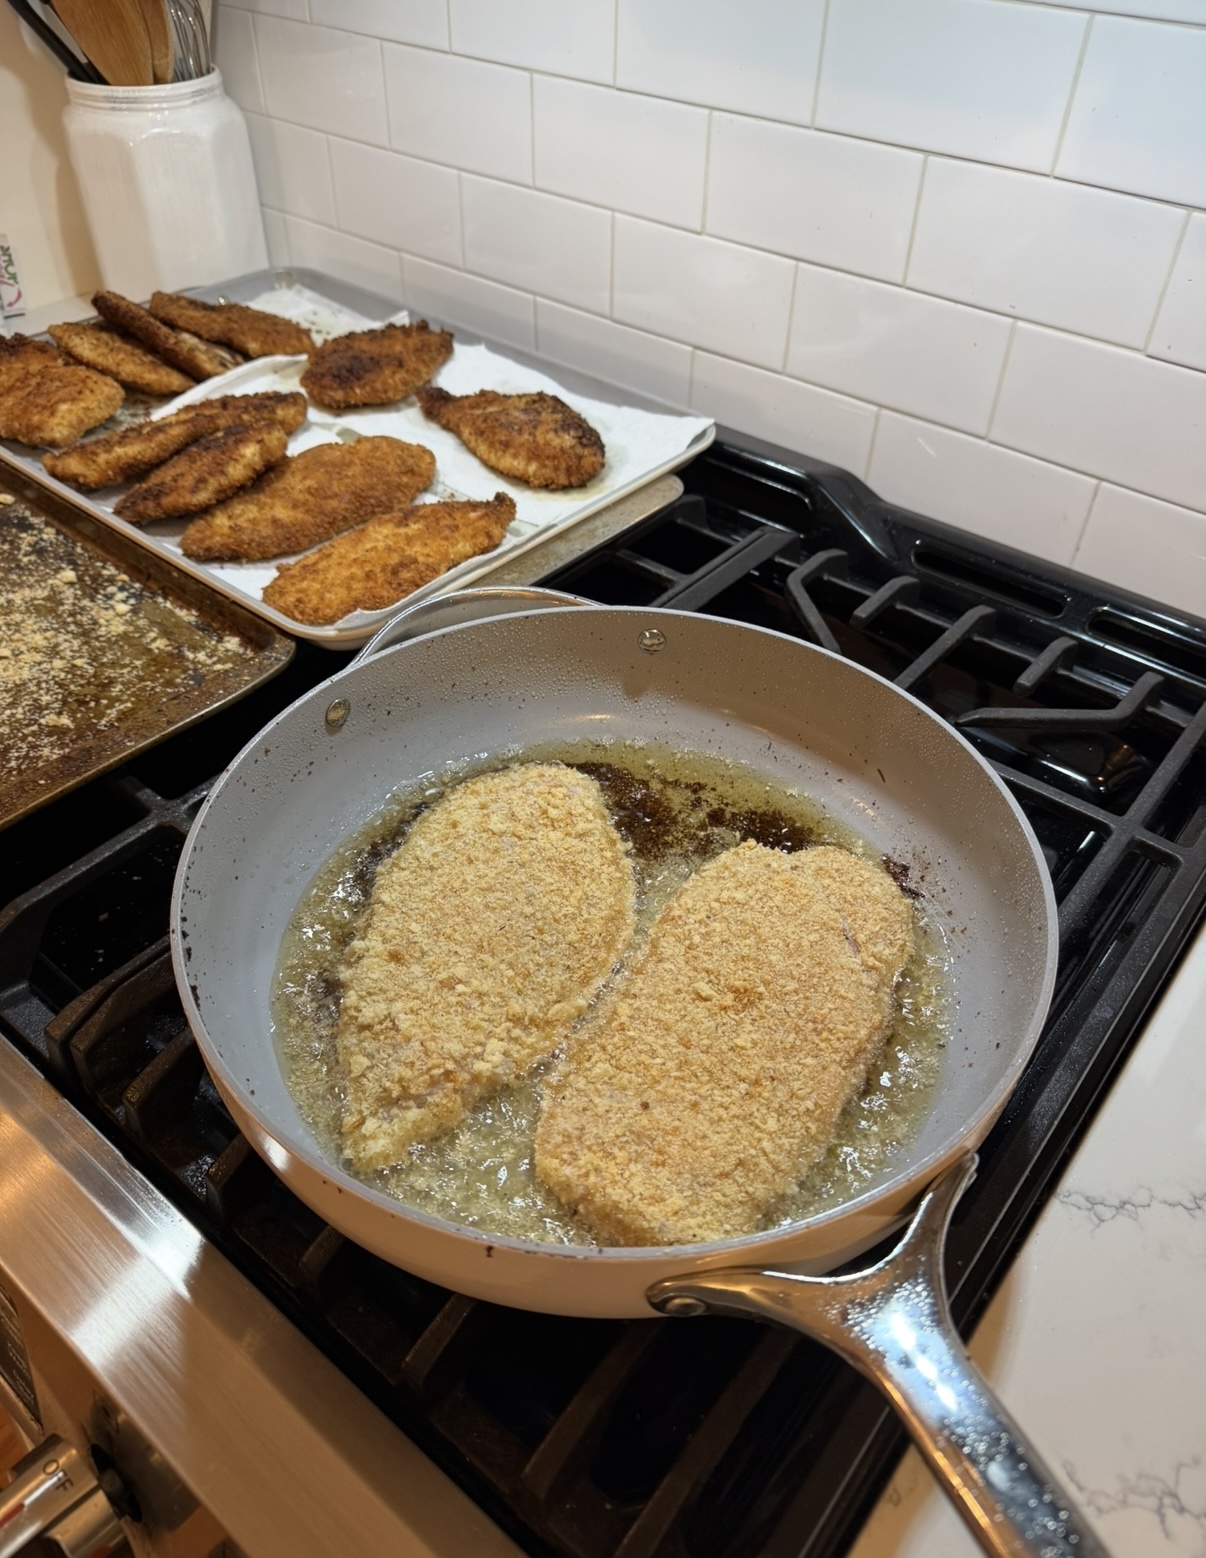
Toasting (or drying) the bread removes moisture. This is important because breadcrumbs that still have moisture will absorb oil instead of crisping, which can give you soggy cutlets and breadcrumbs that fall off while frying.
Dry breadcrumbs:
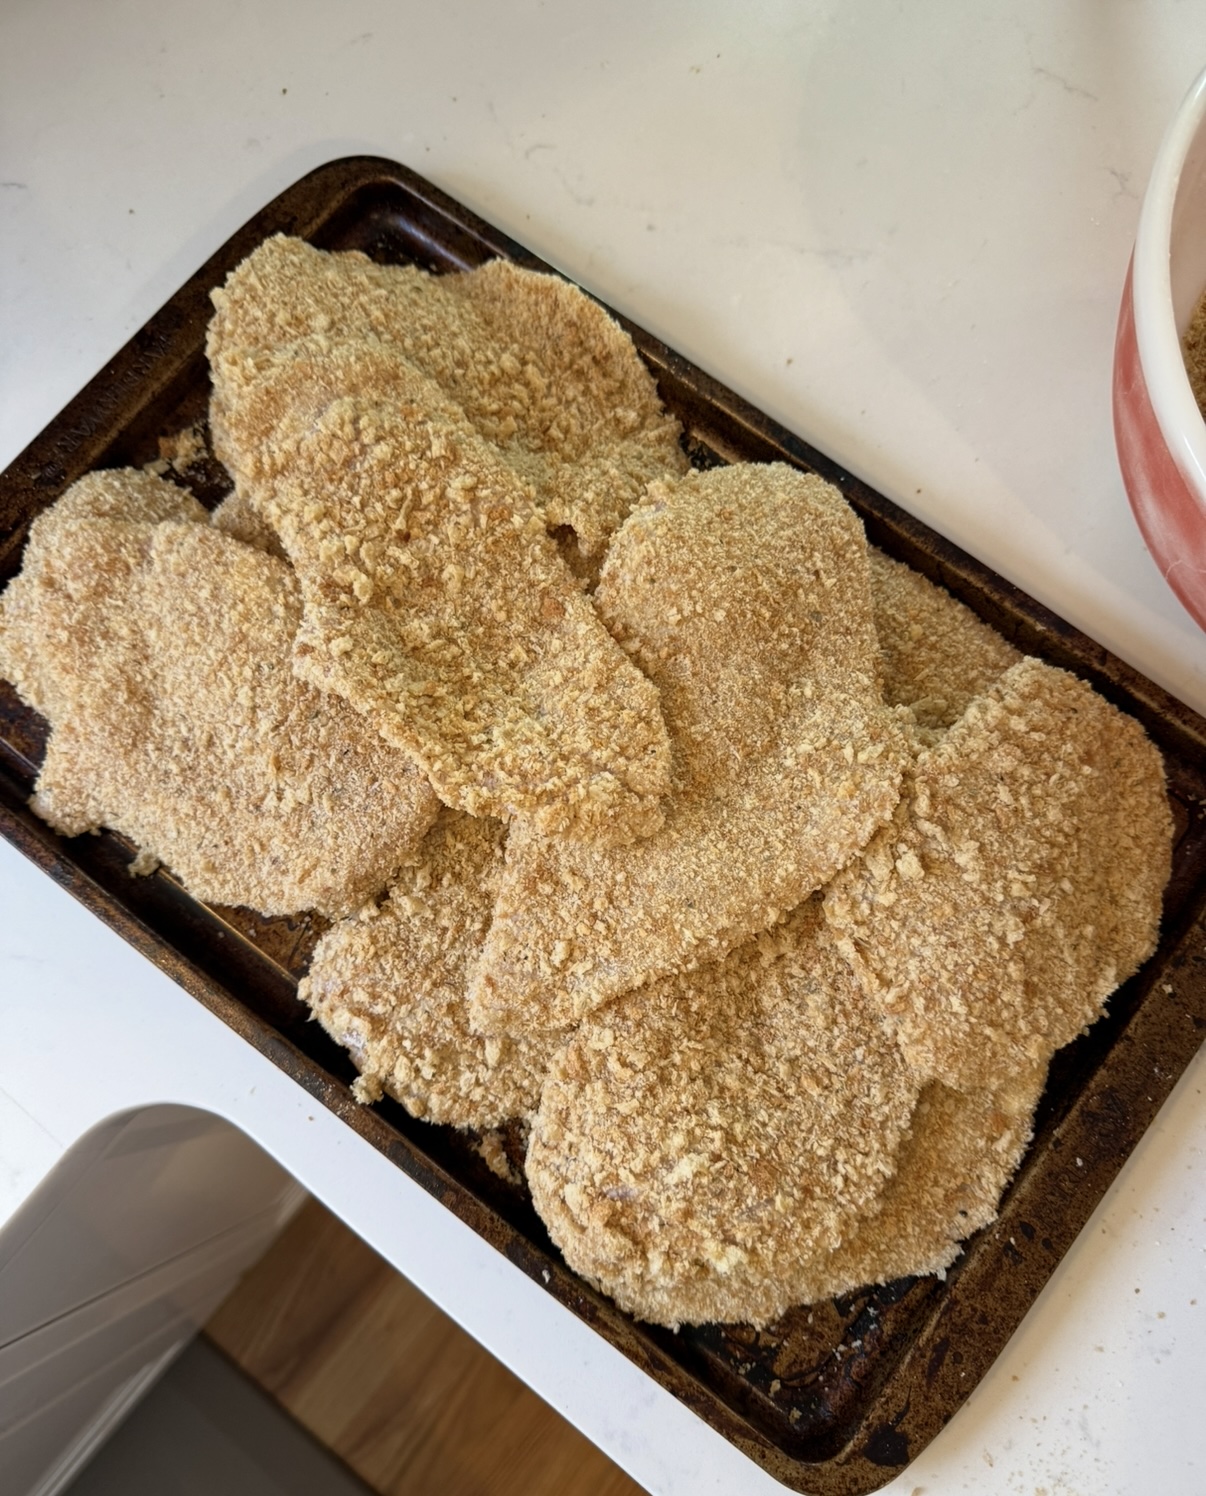
- Stick better to the chicken
- Fry up golden instead of greasy
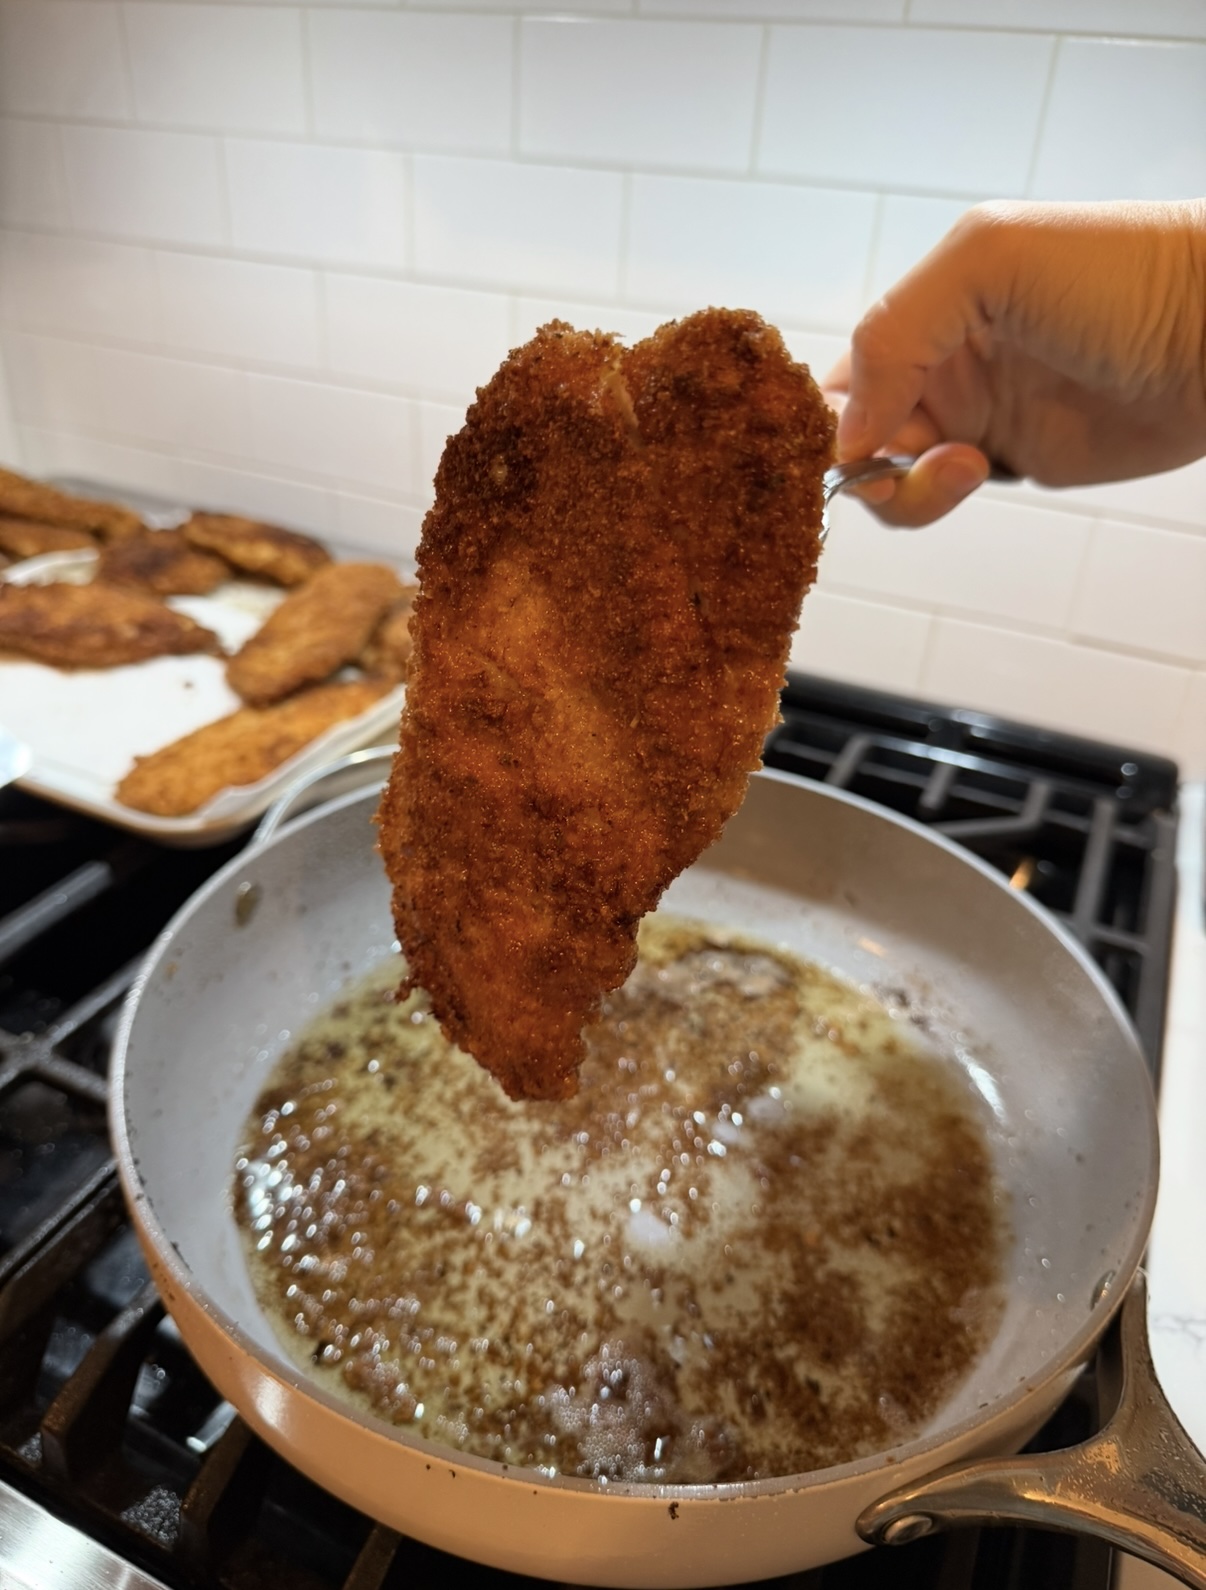
- Create a lighter, crispier crust
- Hold seasoning more evenly
If your bread is soft or fresh, toasting is not optional. You need to dry them out for them to work well!
Method 1: Toast Before Pulsing into Crumbs (Best for Soft or Fresh Bread)
This is my go-to method when the bread isn’t stale enough for breaking up easily
How to Do It:
- Preheat oven to 275°F. You want a low temperature just to remove moisture, not toast the bread!
- Tear or cube bread into 1-inch pieces and spread in a single layer on a baking sheet.
- Bake for 15–25 minutes, stirring once, until the bread feels dry and crisp but not browned. If your bread is really fresh, continue this process until it feels stale/dried out.
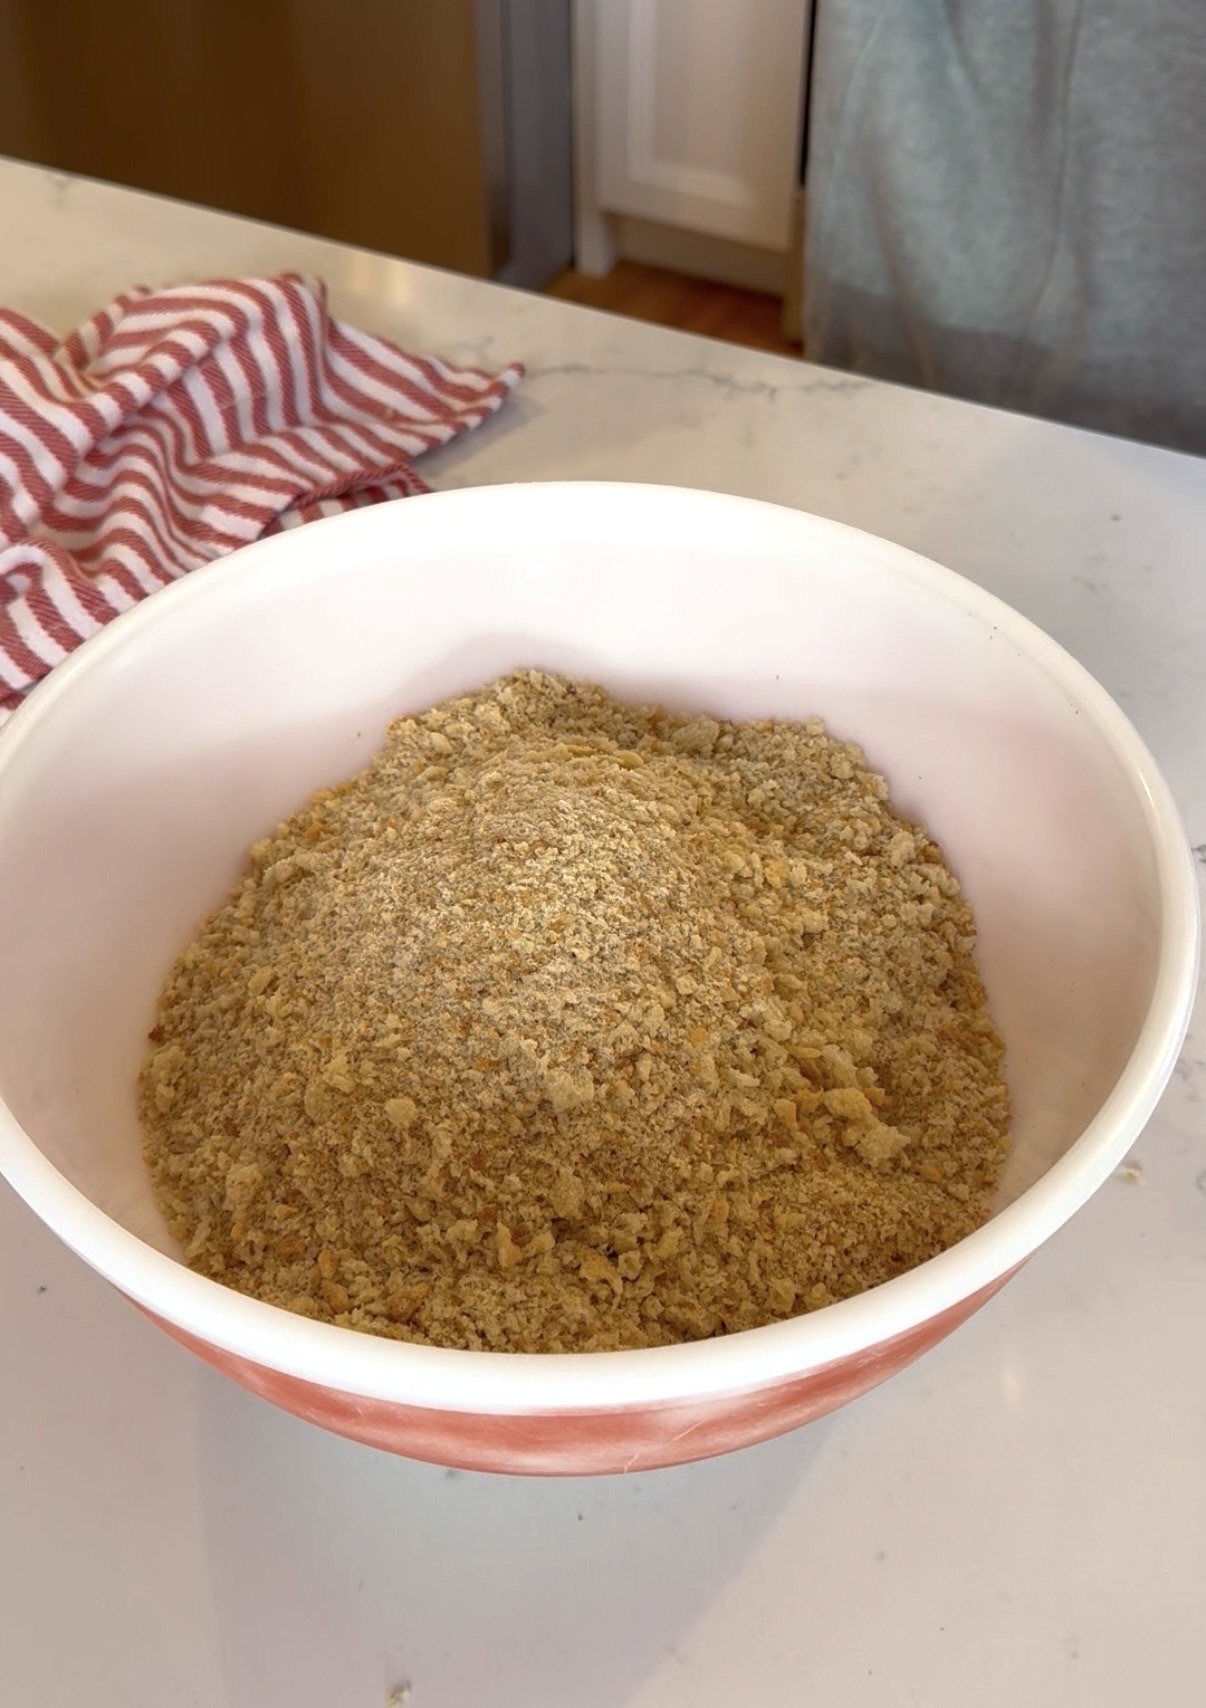
- Let it cool completely before adding to a food processor to pulse until fine.
This method gives you even, dry crumbs that process easily and coat cutlets perfectly! And best route if you don’t plan to have your bread get stale ahead of time.
Method 2: Pulse First, Toast After (Best for Stale Bread)
If your bread is already very dry, you can process it first and toast the crumbs afterward. If I’m planning on making cutlets I will cube my bread and leave it out to get stale to do this method.
How to Do It:
- Pulse dry bread into fine crumbs in a food processor.
- Spread breadcrumbs on a sheet pan (or I like a large baking dish so it’s easier to toss) in an even layer.
- Bake at 300°F for 10–15 minutes, stirring halfway, until lightly golden and crisp.
- Cool completely before seasoning or using.
This is a great option when you want toasted breadcrumbs with extra color and crunch!
Can You Do Both Methods?
Yes and sometimes that’s ideal!
If bread is soft, dry it first so it processes cleanly. After pulsing, you can lightly toast the crumbs again to deepen flavor and ensure they’re fully dry. This extra step is especially great for fried cutlets! If you are using the breadcrumbs for something like mac and cheese then not needed.
Seasoning Your Breadcrumbs
Wait to season your breadcrumbs until after toasting and cooled. Toasting first prevents herbs and garlic from burning. I switch up the seasonings depending on the dish, but usually I will go for an Italian seasoning blend.
Classic Italian seasoning for breadcrumbs:
- Dried parsley
- Oregano
- Basil
- Garlic powder
- Salt & black pepper
- Optional: grated Parmesan (so good)
Final Tip
Always let breadcrumbs cool completely before storing or using. Warm crumbs trap steam, which brings moisture right back.
Once cooled, store in an airtight container at room temperature for 2-3 weeks or freeze up to 3 months.